With all the noise and distractions that come with everyday life, I found the process of 3D modeling to be a nice way to slow down. For this project, I decided to model my AirPods, an object that I use almost every day. At first, the process seemed fairly simple, but as I started working on the model, I quickly realized how much there was to learn.
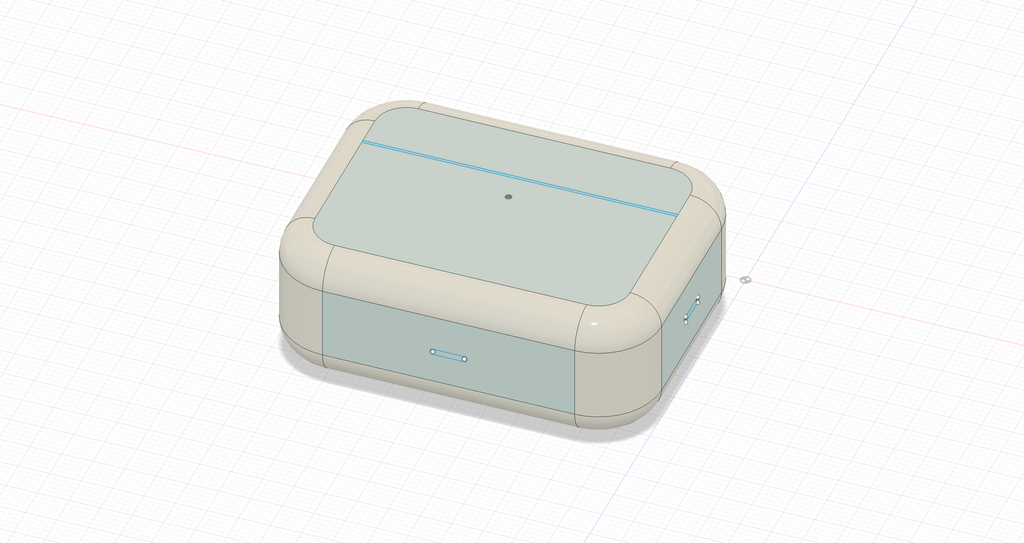
- image 1. isometric view of the modeled airpods
As a beginner, learning the different tools and understanding what Fusion 360 could do was definitely the hardest part of the process. I often had to experiment with different tools to figure out how they worked. The small details of the AirPods also kept me stuck for a while. For example, when I tried to cut the edges I had drawn, Fusion 360 repeatedly told me that there was no surface to cut. I also wanted to add the small LED light to the AirPods, but I could not make it a different color because it was part of the same body. I would have needed to create it as a separate component from the beginning. Because of these difficulties, I had to simplify some of the details and make compromises in order to finish the model.
Beyond this specific project, I can see many potential uses for 3D modeling in the humanities. It can help digitally preserve antiques, historical objects, and archaeological discoveries while making them easier for researchers around the world to access and study. It can also make teaching and public engagement more interactive by allowing people to explore historical objects from different angles. Finally, 3D models can be turned into physical objects through 3D printing, creating another way for people to interact with history and humanities.
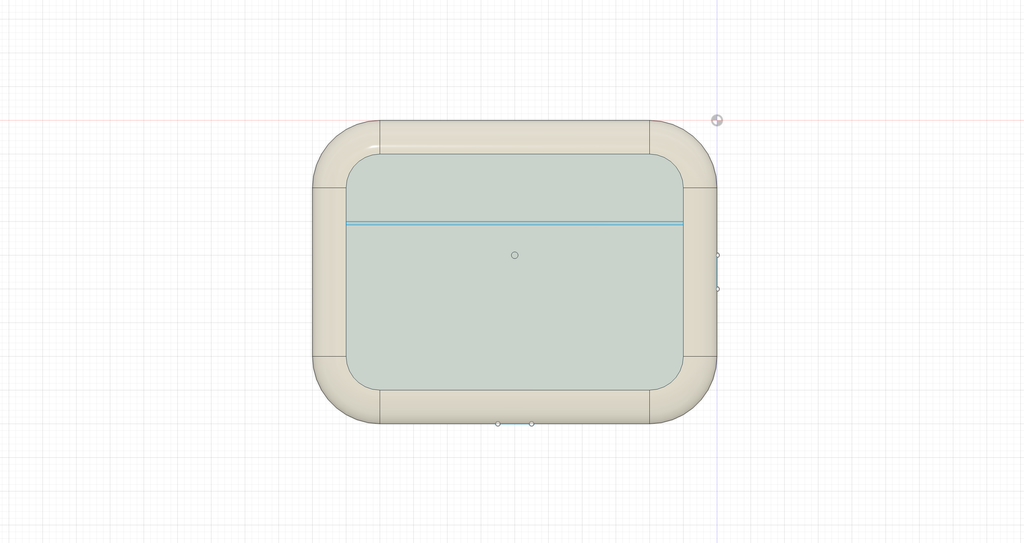
- image 2. top view of the modeled airpods
One tip I would share with other beginner Fusion 360 users is that to think carefully about how many parts your model will need before you start modeling. I learned that if you create everything as one body, it can become difficult later when you want to change the color, edit a specific detail, or move one part independently. Planning the structure of the model at the beginning can save a lot of frustration later.
c
Hello Rigley,
I think your AirPods case is well made because it looks exactly like the one I have. In terms of your reflection, I really liked how you imagine that 3d modeling will “make teaching and public engagement more interactive by allowing people to explore historical objects from different angles.” In my post, I expressed a similar opinion. It is important to realize that many projects in the humanities require visualization. Therefore, it is important to use tools such as Fusion 360 to assist those projects. Your writing also echoes the readings we read for class. Great job!
Your model is very well done Rigley! I’ve definitely seen airpod cases before, but I don’t own one. So, I loved how intricate you were able to get, even though you had to sacrifice certain features. Also, I liked your tip about thinking about how many parts that the figure has because I think that it helps map out how specific one has to get when modeling an object! I’m curious-in your front-view model, I saw a lot of lines. What was the process like to make them? Nice job on your model!
Hi Rigly, your AirPods model is like a real one. Did you use your Airpods as a sample? I am curious about how you make all the lines disappear when the 3D model is turned into the interactive image at the bottom of your post. Would you like to get in touch with me later on so that we can have a small discussion about it. Nice work on the model.
I like that you decided to design an AirPods case since it is an object which you use regularly and your design looks great. In addition, I had trouble understanding some tools in Fusion 360. It would have been useful for me as well to consider the different components before designing.