For my modeling project, i decided to make my Rubik’s cube. I went with this because It would be similar to the cube model we did in class, and its something that hold’s a few significant memories.
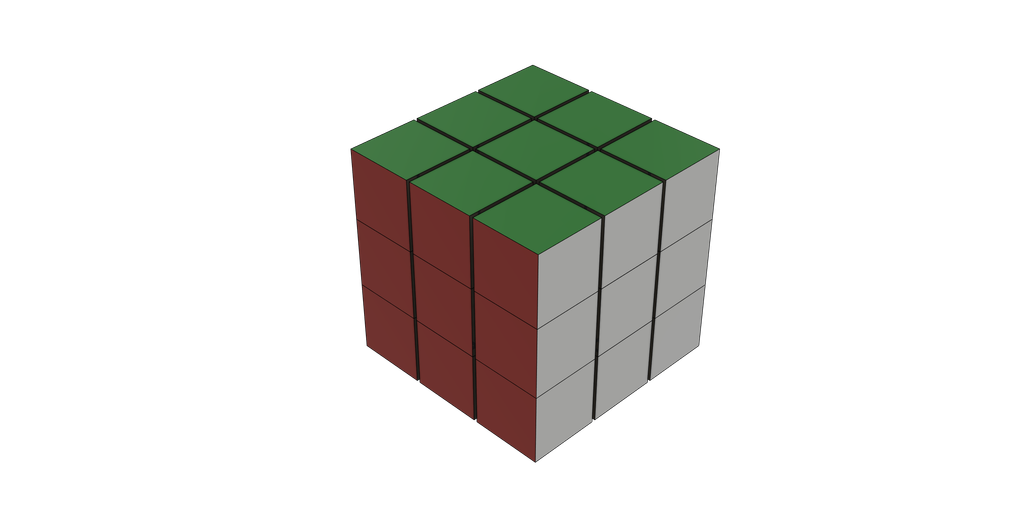
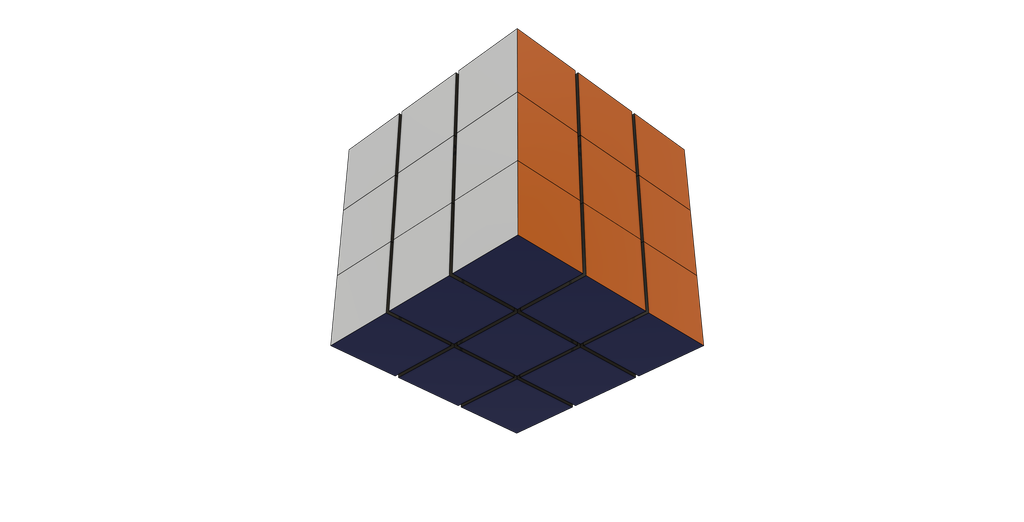
Modeling process + Problems
My original Idea was to create a cube and have it split into even sections to resemble a Rubik’s Cube. However even after doing some small navigation through fusion I was unable to find a tool for the result I envisioned, so I took my problem to Austin, during his office hours. There, we came up with the alternative route of stacking multiple cubes rather than splitting one.
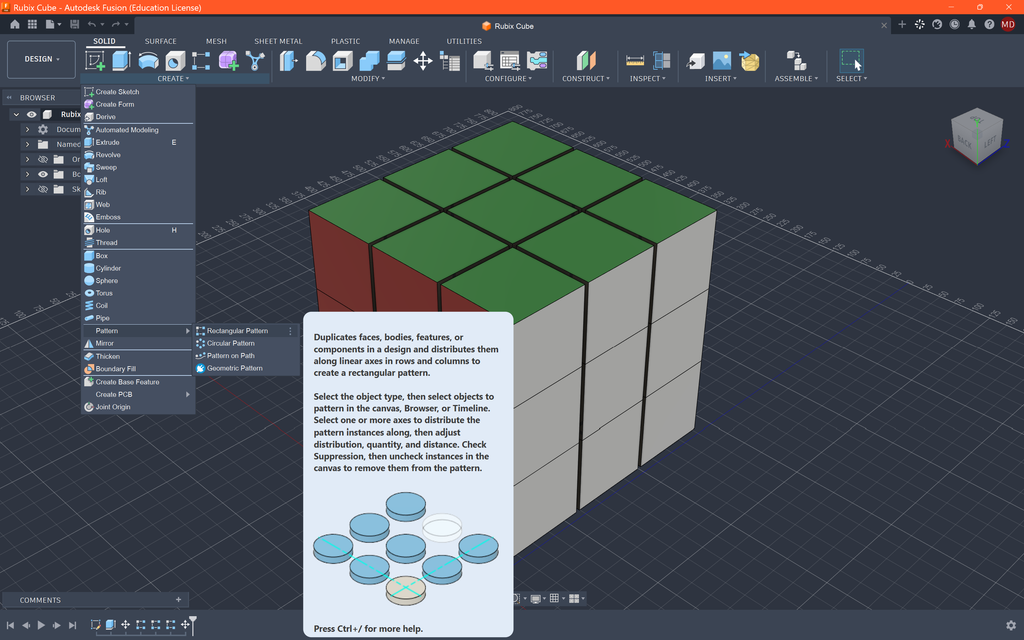
After laying out the path to the end result, the problem soon became the method on how to stack and align the boxes evenly. Fortunately we were able to find the “Pattern” tool under the Create tab, and used the rectangular option to make a row of even cubes.
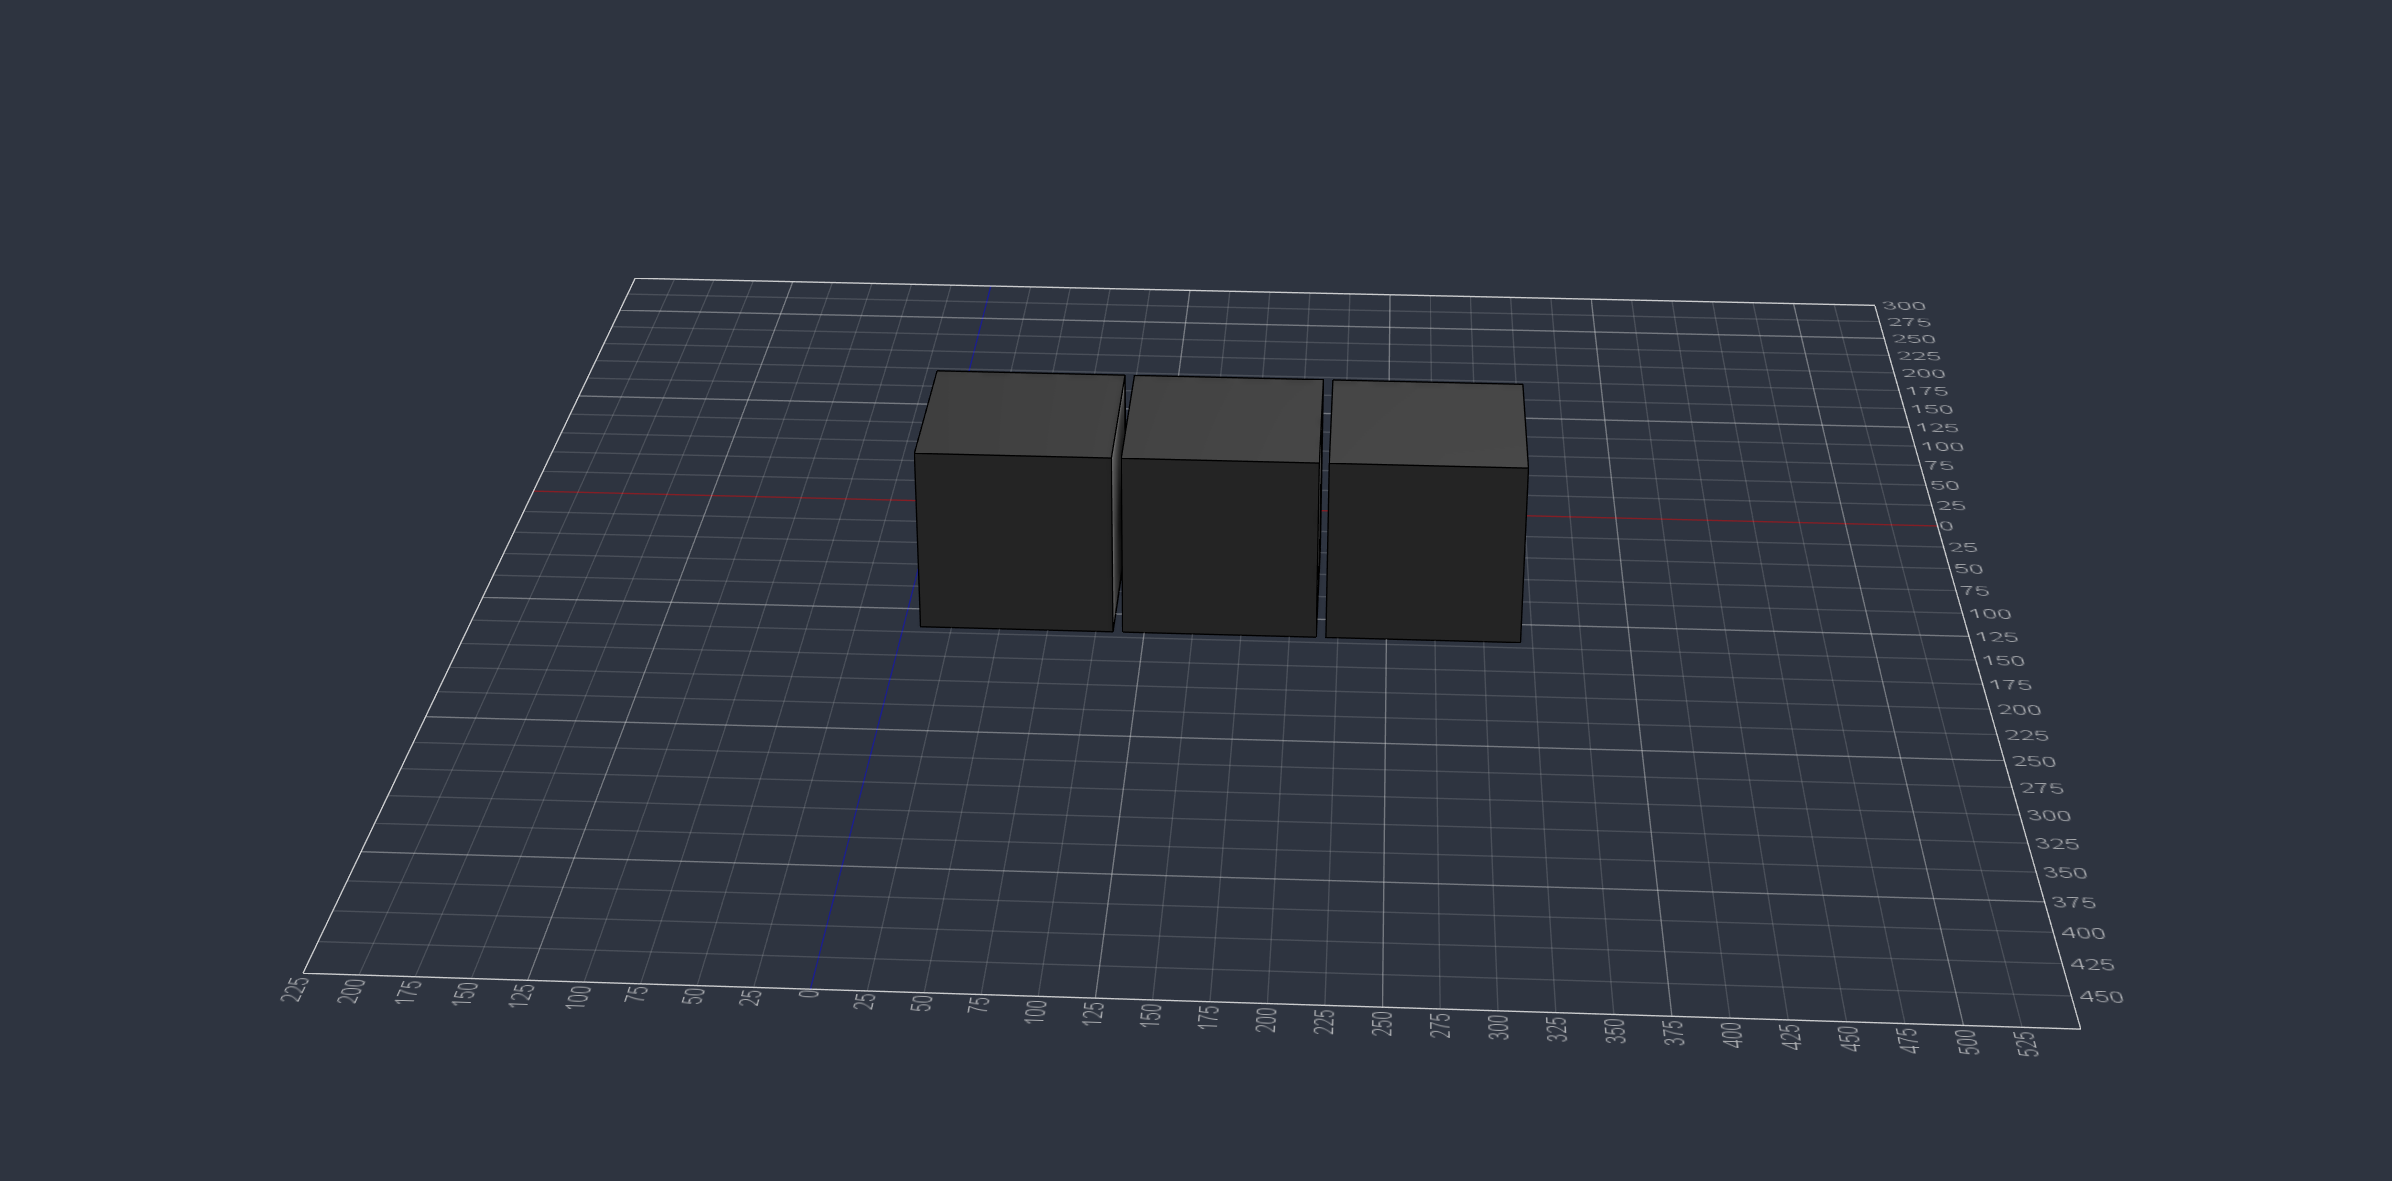
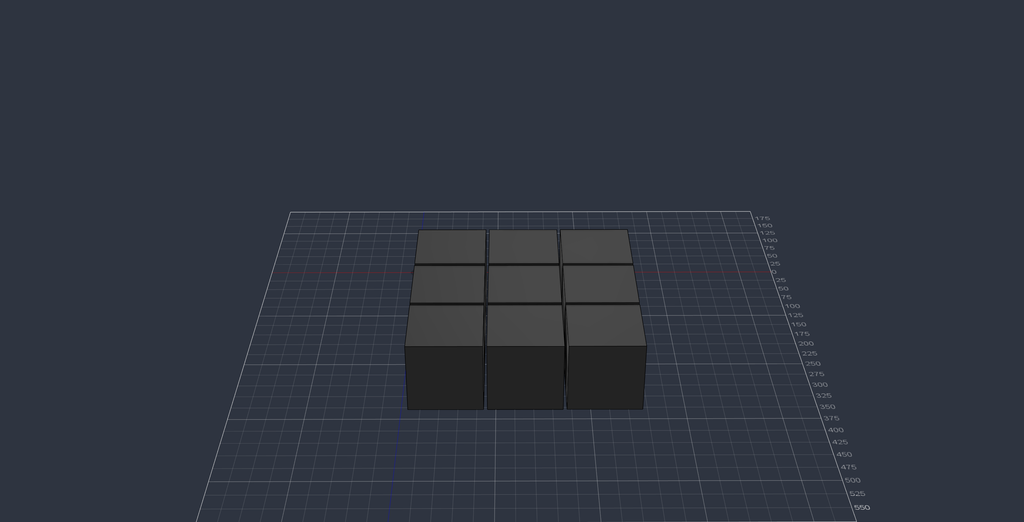
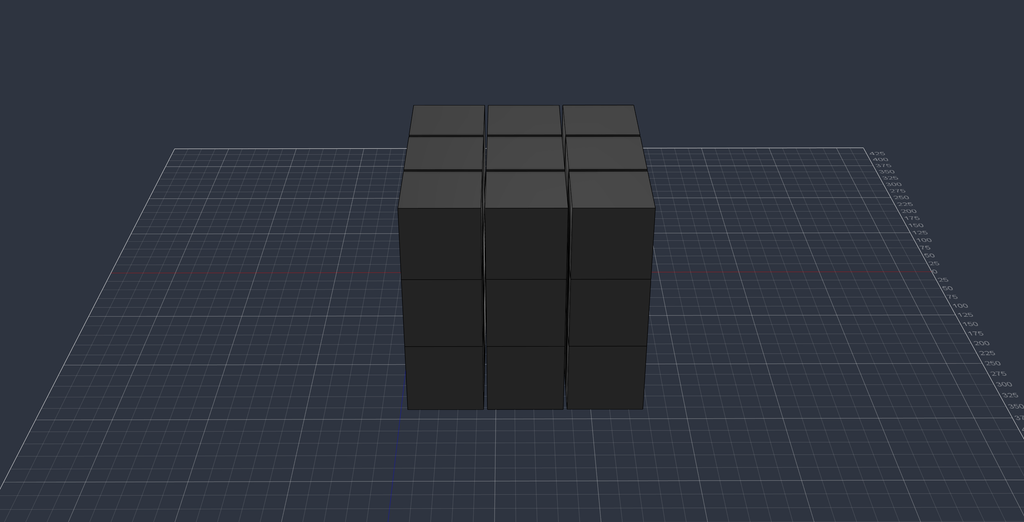
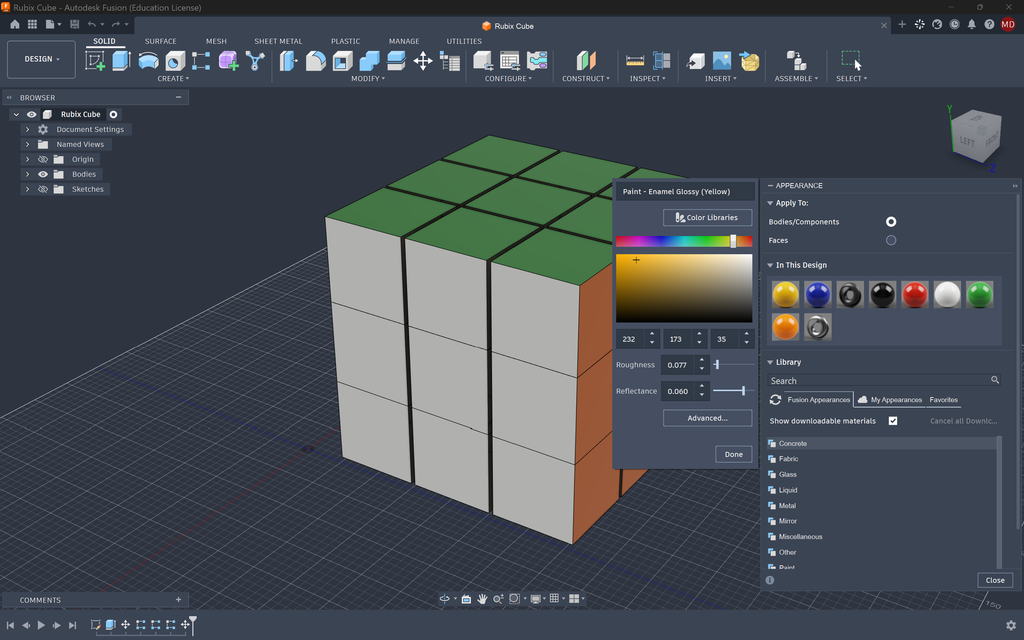
The next few steps we’re much more straight forward since i just duplicated the boxes outwards, and then upwards to make 3 layers. The last problem I faced came from coloring each of the sides. If you press “A” within fusion, an Appearance tab will pop up that allows you to customize the surface texture and/or color of your object. However i wasn’t able to find an orange color within the paint section available. My solution came from a reddit post that explained how you can take existing colors and alter the color code within them. If you right click an existing color within the appearance tab, the option to edit will appear, which after clicking will bring up the screen below. This will allow you to create a separate custom color to be used within your project so you aren’t forced to compromise on color or mix different textures.
reflection + personal tips
Overall I really had fun with this project, and despite it being my first time 3D modeling I didn’t find it too difficult. I can definitely see how beneficial resources like Fusion or Blender can have various humanistic uses, because they allow people to be able to visualize and create things that might be problematic to do in other situations. For example, architects cant go and take a look at something they’re creating because it hasn’t been built yet, which is why through inspiration we can get creative new ideas to showcase. I’m sure in many places, somethings that might be commonly accessible to some folks are unobtainable to others, hence why I think imagination and the free will to create like this is wonderful. This kind of thing is what helps keep people unique and ideas fresh.
If I had to give some type of advice, I’d the internet has plenty of places to help find the right tool for your project, and explanations on how to use them. Other than that, I think people shouldn’t be afraid to experiment with things even if they don’t know what it might do. The undo button is always there, and sometimes its through mistakes that we can learn.
Hi Michael, this 3D model is very impressive! I appreciate hearing about all the different steps of troubleshooting it took to get to the final product. I liked your point about how 3D modelling is useful for visualizing something that doesn’t exist yet, such as an architectural project. A lot of the time, I think about 3D models as representing something preexisting, such as a historical artifact, but your point has expanded my way of thinking, so thank you!
Cool idea turning your Rubik’s Cube concept into a stacked‑cube build. It’s awesome that you problem‑solved your way through Fusion and figured out a clean method with the Pattern tool. The alignment challenge sounded tough, but the final result shows you really dialed in the layout.