Immersive environments are one of the newest areas of DH experimentation. 3D simulation, Virtual Reality and Augmented Reality were until recently only accessible with high end hardware and produced end products that were so large they were hard to deliver over the internet. As the technology improves, internet bandwidth grows, and the computers in our pockets get more and more sophisticated, these projects are now coming into their own.
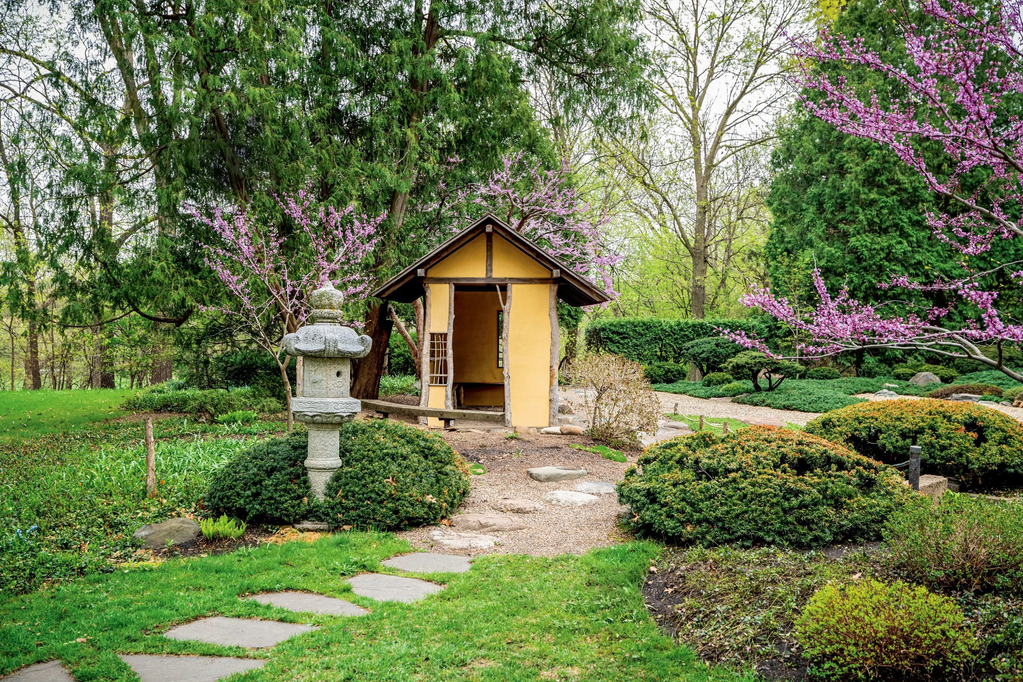
Over the past several weeks, you’ve gotten a brief introduction to various Digital Humanities methods useful for cultural heritage preservation and public engagement. This year, we are going to do a class project mapping and 3D modeling Carleton’s Japanese Garden to make it easier for people to learn about this great local resource that is celebrating its 50th anniversary this year.
The best publicly available information on the Garden is a Field Guide to Jōryō-en: The Garden of Quiet Listening published in the alumni magazine The Carleton Voice several years ago.
The information here is excellent, but it is a static web page with prose and images that is hard to actually use as an interactive “Field Guide” when planning a visit or visiting in person.
Our project will be a first step towards a transmediation of this content into a series of interactive digital maps and 3D models, that allow for a more immersive experience of the garden as a place rather than just a space.
Beyond GIS
David Bodenhamer suggests that 3D technologies can move us beyond GIS as a representation of space to a deeper understanding of place. He writes
For humanists, the goal is not proof but meaning. The challenge, then, is to use geospatial technologies to probe, explore, challenge, and complicate—in sum, to allow us to see, experience, and understand human behavior in all its complexity and to view its deep contingency. As in traditional humanities scholarship, the aim is less to produce an authoritative or ultimate answer than to prompt new questions, develop new perspectives, and advance new arguments or interpretations.
David Bodenhamer, “Beyond GIS: Geospatial Technologies and the Future of History,” 2013
In groups: explore one of the following immersive 3D projects:
- Chinatown: Time Travel from the NY Times
- BAGAN: Google Arts & Culture
- Castle to Classrooms: an Irish Castle in Virtual Reality
Designate a reporter and be prepared to share the project and briefly answer all three questions. Reference the readings as you discuss.
- What new questions does it prompt?
- What new perspectives does it develop?
- What new arguments or interpretations does it advance?
How to Make a Model
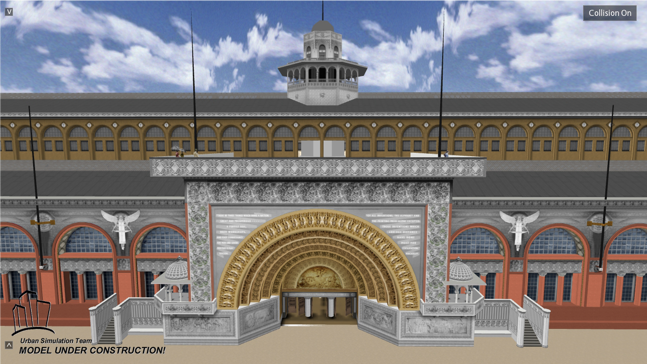
Manual 3D modeling techniques like those we’ve attempted in Fusion360 are very effective and have had a long history of producing impressive digital humanities projects. Lisa Snyder’s long-running project to recreate the World’s Columbian Exposition of 1863 in Chicago is a prime example of what these techniques can accomplish in skilled hands.
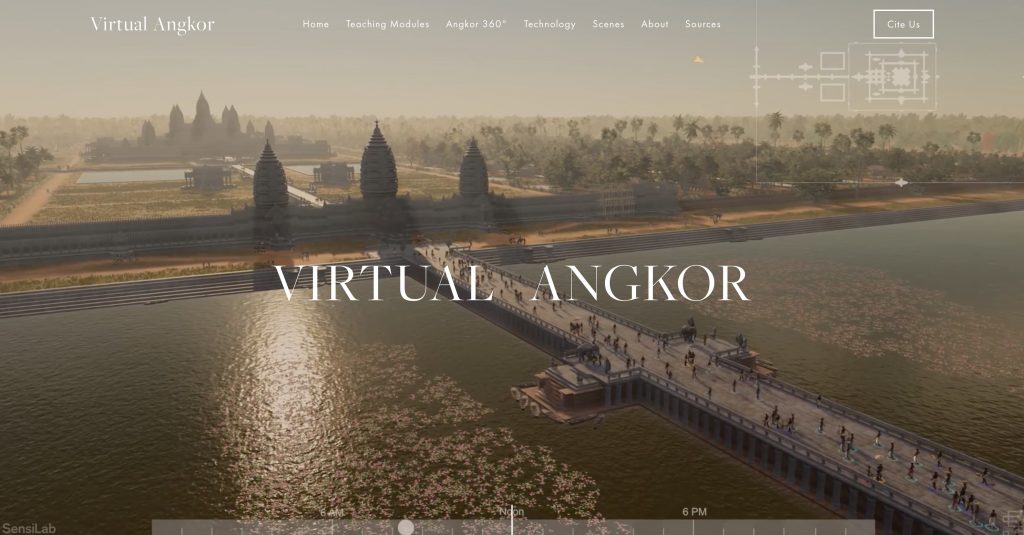
Increasingly, however, computers are doing more of the heavy lifting. There are several methods of generating 3D models that rely on algorithms to create geometric meshes that are being adopted for DH projects along with techniques borrowed from the film and video game industries like motion capture. The award winning Virtual Angkor being a prime example of the leading edge of these techniques.
Two major current methods for generating 3D content are procedural modeling and photogrammetry, which we’ll discuss today.
Procedural Modeling
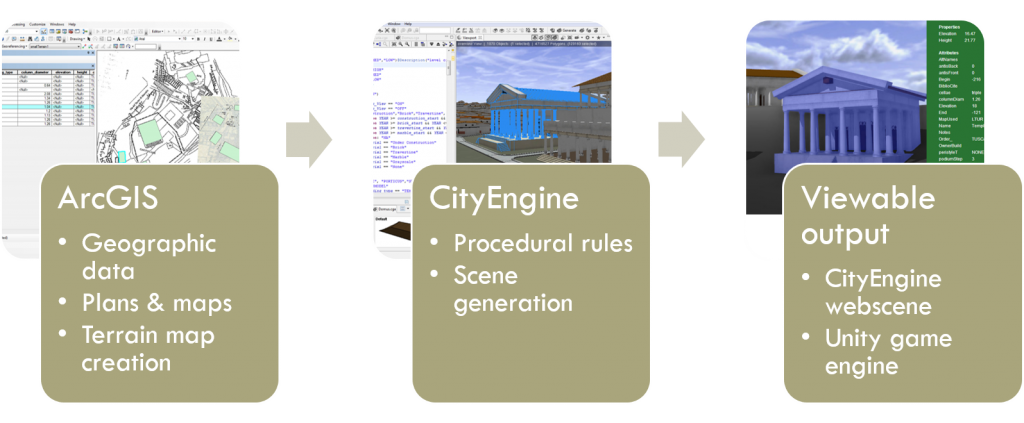
This term refers to the generation of complex geometry from basic shapes through the application of code-based rules. The leading platform for this type of work in DH is CityEngine, owned by ESRI, the makers of ArcGIS. This technique allows a user to produce, modify and update large, textured models of entire cities quickly and iteratively. The output can be explored online or integrated with gaming software or 3D animation packages to produce video games, simulations and movies.
This software was developed for modern city planners and urban architects, but has increasingly been put to use on historic landscapes and built environments, as in the impressive work of Marie Saldaña who developed a Roman temple rule set.
A project here at Carleton led by Serena Zabin and Austin Mason used procedural modeling to recreate colonial Boston circa 1770 as part of a video game centered on the Boston Massacre called Witness to the Revolution. You can see a flyover of part of the reconstruction in the video below, get an overview of the game on Serena Zabin’s website, and read more about the development process from Carleton students’ posts on the development blog.
Photogrammetry
Photogrammetry is another algorithmic modeling technique that consists of taking multiple overlapping photographs and deriving measurements from them to create 3D models of objects or scenes. The basic principle is quite similar to the way many cameras these days allow you to create a panorama by stitching together overlapping photographs into a 2D mosaic. Photogrammetry takes the concept one step further by using the position of the camera as it moves through 3D space to estimate X, Y and Z coordinates for each pixel of the original image; for that it is also known as structure from motion or SfM.
Photogrammetry can be used to make highly accurate and realistically photo textured models of buildings, archaeological sites, landscapes (if the images are taken from the air) and objects. Close range photogrammetry of historical objects offers the possibility of both digitally preserving artifacts before they may be lost or damaged, and of allowing a whole suite of digital measurements, manipulations and other analyses to be performed that allow insights into the material that might not be visible to the naked eye. The technique is gaining in popularity and usage, since it produces very impressive results comparable to high end laser scanning technologies for a mere fraction of the cost.
There has been a large initiative among museums around the world to create 3D versions of objects in their collections. Among these include the British Museum, which has made hundreds of scans publicly viewable on the popular 3D modeling site SketchFab, and the Smithsonian, which has designed several online 3D exhibits (including this creepy one of Abraham Lincoln’s death mask!).
In-Class Exercise: Modeling the Japanese Garden
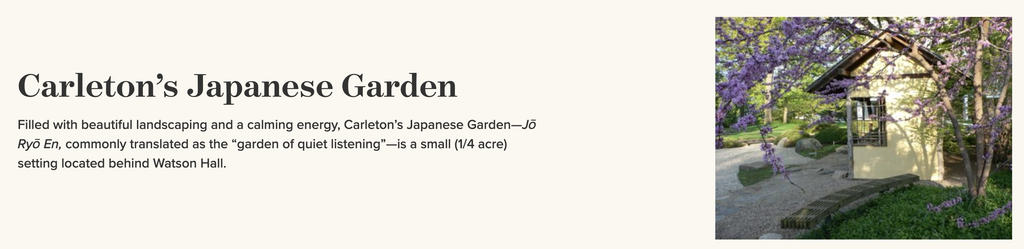
The first step in our transmediation of the Japanese Garden field guide will be to make 3D models of the various sculptural pieces in the garden.
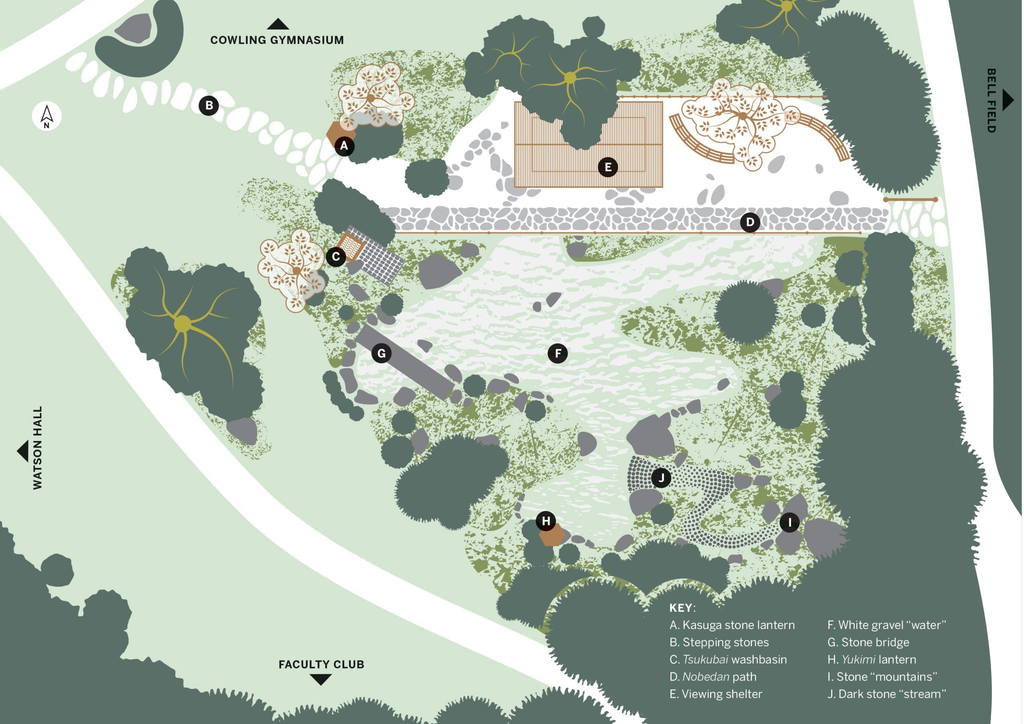
There are 10 features of interest mentioned on the map below, which is the best map currently available of the garden.
We are going to georeference this map, digitize all the features, make them clickable, and add 3D models to the popups of each feature.
We’ll start today with forming groups and choosing features to make 3D models.
Claim your Garden Feature
- Have a look at the current Field Guide to the Japanese Garden and think about which feature you might want to model.
- Then, click the button below to launch the sign up sheet
- Put your name in the Researcher column to claim your feature and form a group
The basic information on most of these features is in the field guide. But we will want to add a little more. Before we dive in, let’s look at some other sources to map and model the garden and tell its story:
Find images and info about your Garden Feature
- START HERE: There are a number of items about the Japanese Garden and its history in the college archives, and Kate Brooks (Visual Resources Manager, Art and Art History) has been working to make a finding aid of them so that students can do original research for future History classes. Much of it is not yet digitized, but some is.
- Look over this tentative list of already digitized items in the collection
- Click the links to see the image, audio, video, and paper materials on offer
- Kate and some student workers have also compiled a Tentative Japanese Garden Timeline
- Flag anything relevant to your feature for potential use
- Look over this tentative list of already digitized items in the collection
- Create a new folder for your feature in the JapaneseGardenProject folder of our shared Google folder with the format:
- JGP – Feature Name (e.g. JPG – Kasuga stone lantern)
- Download any image files you find of your feature in the archives above and move it into this folder
- Then add the metadata to this Archive Metadata Document, in the following format
- File Name: JPG-JapaneseGardenWide.jpg
- Original Name: _E0I3307_F_edit.jpg
- Location: https://archive.carleton.edu/Detail/collections/75784
- Then add the metadata to this Archive Metadata Document, in the following format
We will work with these in our project website next class.
We will end class in the Japanese Garden itself, but first we’ll discuss
In-Class Exercise: Making Models the Easy Way?
There are an increasing number of methods for creating photogrammetry models in the market, and we are going to experiment with several of them and compare the results. Some of these methods require dedicated local hardware with lots of RAM and advanced graphics processing capabilities, others are cloud-based which offer speed and ease of use at the cost of some control over your data and the details of the process.
We will explore the following methods for creating photogrammetric models:
- Scaniverse (an app that leverages the latest camera and LiDAR scanner technology of iOS devices)
- Polycam (an app that works on any phone and can use photos or LiDAR to process and edit models)
- Agisoft MetaShape (the venerable desktop-based solution to process photos)
- Autodesk ReCap Photo (a cloud-based solution run from the desktop that integrates with other Autodesk offerings)
Options 3 and 4 we will go over in class the next class and you will complete for Sunday’s lab.
1) Using Phone Apps
- Download and install at least one of the apps, and follow the tutorials linked below (one student in each group should download one of each)
- Scaniverse (AppStore, GooglePlay)
- PolyCam (AppStore, GooglePlay)
- Experiment in class with making a model of an object or a space (e.g. this room).
- These apps will process the models live and allow you to share and export results almost immediately


2) Taking Photos
- You will also take photos with your phone camera of the feature you are studying.
- Leave class and before Thursday, take a series of images all around your feature.
- These photos will be used for desktop applications and data recording for future proofing
Taking Photos for Photogrammetry
The most important step in photogrammetry is collecting data: i.e. taking good photographs that will have sufficient information for the algorithms to stitch images together and extract 3D geometry from them.
Watch the video below for tips on how to document a building with ground level images for photogrammetry. Things to note:
- If using a phone camera, use a regular lens (1x) if possible. If space is too tight, use the wide angle (.5x) but increase overlap (see next point).
- Overlap images by 60-80% – the software must find similar pixels in multiple photos to stitch a model
- Document corners especially well – you need several shots that include both faces to know how to stitch them
Blog Assignment (due Friday):
Your assignment for this week is to make several different 3D model versions of your object and save the results in our class Google Drive Folder with proper documentation for future work.
Sign Up for a group and Feature
- Sign up for objects and groups.
- After class, go to the Hacking the Humanities Japanese Garden sign up sheet in the google drive, confirm that you are signed up for the right feature, that there are 3 members in your group
Decide on roles
Your group will use each of the methods above, so we need one of each of the following, so decide who will do what roles
- Mesh Model
- Use the Scaniverse app to make a Mesh Model of your object and export as GLTF
- Tutorial Video
- Save the model in the app
- Click the saved model to Edit for exposure, contrast, and to rotate and crop out the edges
- Export the model as a GLB
- Use the Scaniverse app to make a Mesh Model of your object and export as GLTF
- 360 Panorma
- Use the PolyCam app to make a 360 panorama of the view FROM next to your featureand export as both Video (mp4) and Skybox(JPG)
- Photogrammetry image dataset
- Take a series of 30-50 images in rings around your object at multiple heights and export as JPG files
Upload all files to your google drive folder for your team.
Draft one blog post for your team that includes
- Team members
- Feature you are working with
- Insights gained from close looking associated with making various 3D models.
Personal messages:
Each team member should add a brief message outlining your personal work on the project, referencing the roles decided and what they contributed.