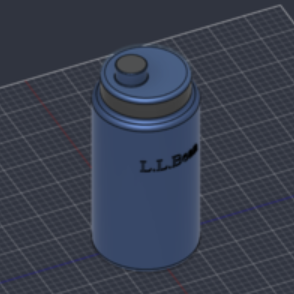
For my 3D modeling project, I made my water bottle. I carry this water bottle everywhere I go, and its basic yet distinct shapes made it a good starting point for my 3D modeling journey.
my process
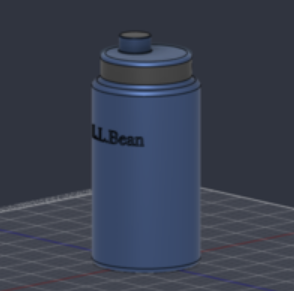
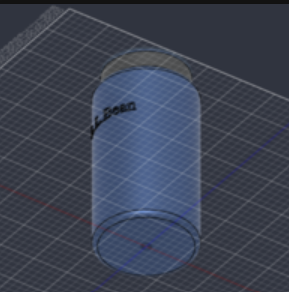
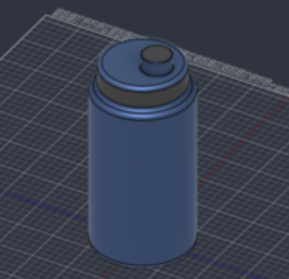
This was the first 3D model I had ever made, so the process was quite challenging for me. It took me a while to even set up Fusion 360 and figure out which type of design I wanted to make. I decided to choose part design and got started with my sketch. At first, I simply practiced sketching a few circles to get the hang of the software before fully getting into the project; I learned the difference between center diameter and two-point circles, which was helpful later on when designing the top of the water bottle. After playing with different diameter lengths and finally getting the hang of making sketches, I moved on to extruding my circle, creating the base of the water bottle. It took me a couple tries to get the height where I wanted — I struggled with figuring out how to adjust the extruded shape to a different height — but eventually, I made a 3D cylinder I was happy with.
Next, I had to make the top of my water bottle. To do this, I made a sketch of a center diameter circle on top of the first cylinder I made, extruded it, and did the same on that second cylinder, but with a two-point circle. At this point, I had three cylinders stacked on top of each other, giving me the basic outline of the shape I wanted. However, the corners of my water bottle are very rounded, so I had to use the Fillet tool to get rid of the sharp edges. This was pretty easy for me to do — I found Fillet under the Modify tab and applied the tool to my satisfaction. Finally, I had to change the material and color of my model. Here, I had a bit of trouble learning how to apply a color to only some parts of the model and not the whole thing, but with some patience, I was able to select each sketch individually and change the colors to match my real water bottle, and my model was finally finished.
3D modeling and the humanities
Overall, 3D modeling is a very useful tool that can be used in many creative ways throughout the humanities. One thing I thought of while making my model was that 3D modeling tools could be used to help artists make references for paintings or ceramic art without the involvement of generative AI. Additionally, teachers and professors could use this software to make models for class; for example, a 3D model of the solar system might help students understand the planets better than a 2D image. Its interactive nature and general accessibility would work well alongside the humanities, and I am excited to see where 3D modeling technology goes in the future.
My tip
If you are looking to add text to your design — I added the L.L. Bean logo to mine — you should learn to use the Emboss tool. Once you click Create Sketch, then Text, and write your message, you can go to the toolbar and click Create, then Emboss. Select the two sketches you just made, and the tool will attach the text to the shape. One thing to note is that Fusion will give you the option of selecting Emboss, which will raise the text outwards, or Deboss, which will engrave it inwards, so choose which one fits your project best. I personally wish I had figured this tool out sooner, as it took me a while, but ended up being pretty straightforward once I understood the different steps.